“Can I photograph every part of Uluru?” — it’s a question I get asked on almost every Red Centre trip I’ve led. As someone who’s guided hundreds of people through this landscape, I know the answer isn’t a simple yes or no. Uluru might be one of the most photographed icons on the planet, but it’s also a sacred site — a living cultural landscape that deserves our admiration and respect.
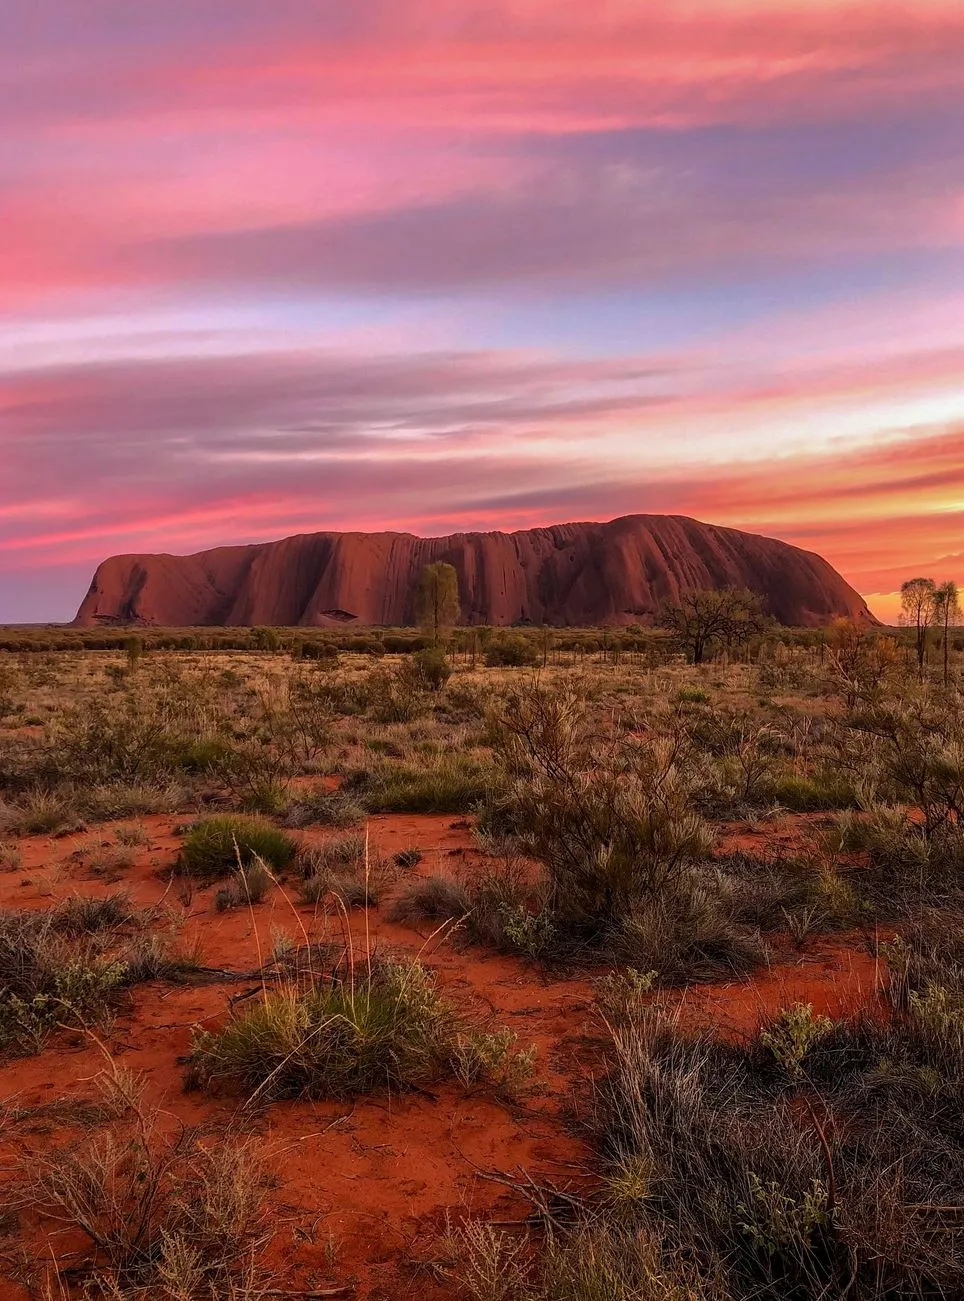
I’ve spent decades exploring the heart of Australia with Autopia Tours, Wildlife Tours and Wayoutback Tours, leading curious travellers who want to go beyond the postcard shot. Out here, the desert light can turn the rock from ochre to crimson in an instant — and the stories behind it can change how you see the whole place.
Why Is This Sacred Landmark So Important?
Ask anyone who’s stood before Uluru at sunrise — this isn’t just a big rock. It’s a heritage site of great cultural significance, recognised by UNESCO and protected by Australian and Anangu (Traditional Owner) law.
Uluru is central to many Anangu stories of creation, which have been passed down for tens of thousands of years. The rock’s features, caves and waterholes are physical evidence of these stories — living reminders of Tjukurpa (Dreaming law).
Some parts of Uluru are sacred, linked to gender specific ceremonies or ancestral beings. These areas are off limits for photography, not because we want to spoil your trip, but because photographing them would breach cultural law. As visitors, we need to travel respectfully, following the guidelines set out by Parks Australia and the Anangu community.
Photography Zones: Where You Can and Can’t Shoot
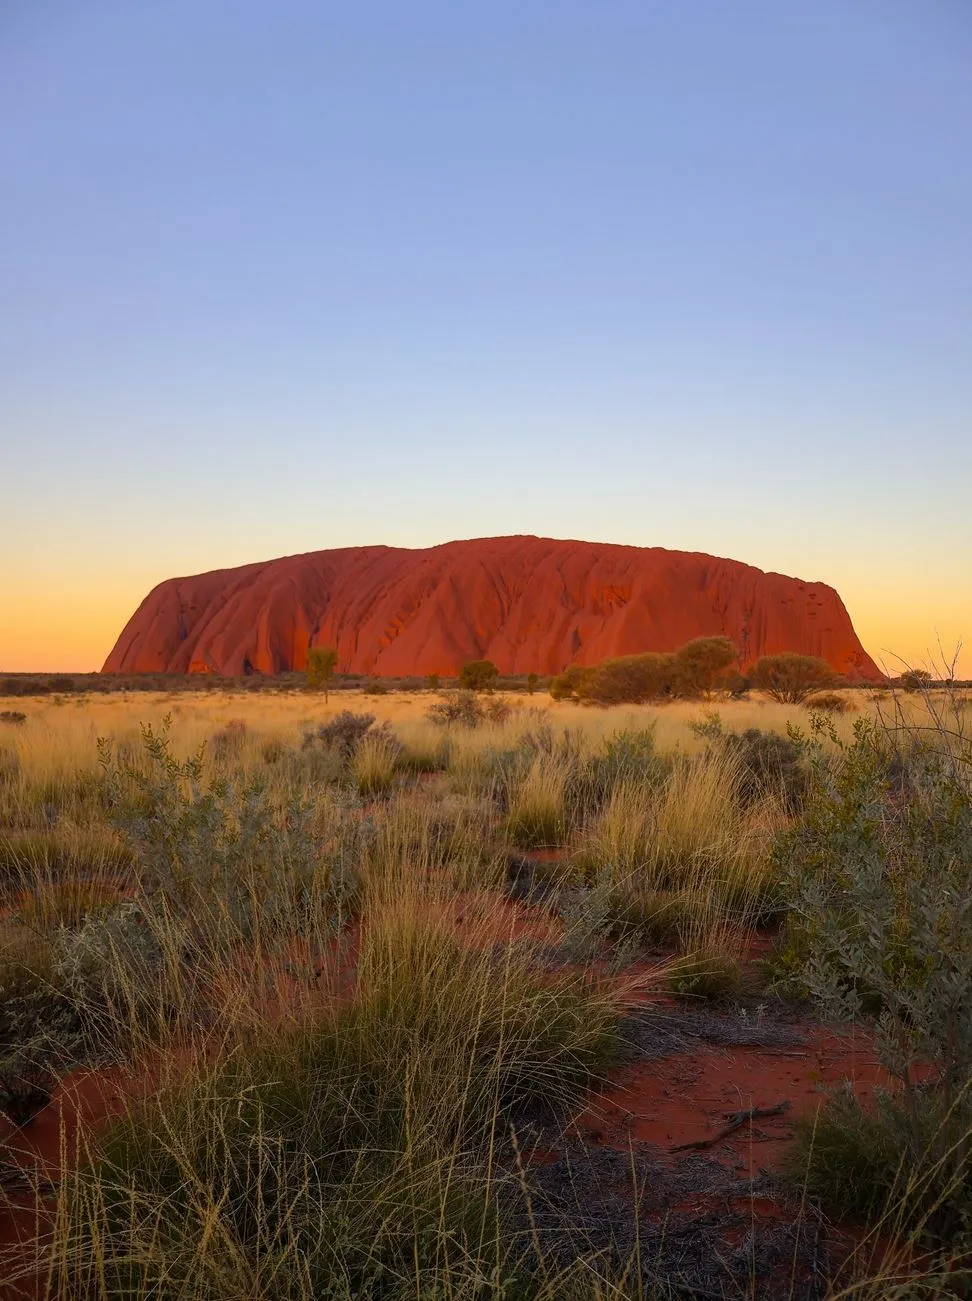
There are designated photography zones around the base of Uluru where you can capture the rock’s amazing landscape photography without crossing cultural boundaries. Signs are clearly marked — and trust me, they’re there for good reason.
Here’s a quick guide you’ll find useful:
| Photography Area | Allowed? | Permit Needed? | Notes / Restrictions |
| Talinguru Nyakunytjaku Viewing Area | ✅ Yes | ❌ No | Best sunrise/sunset views |
| Mutitjulu Waterhole | ⚠️ Partial | ❌ No | Respect cultural no-photo signs |
| Base Walk (eastern side) | ❌ No | ❌ No | Sacred sites — strictly prohibited |
| Mala Walk | ✅ Yes | ❌ No | Guided cultural tours are available |
| From a scenic flight or a helicopter ride | ✅ Yes | ✅ Media permit for filming | Observe altitude and flight path limits |
Parks Australia enforces photography restrictions, and breaching them is an offence under the EPBC Act (Environmental Protection and Biodiversity Conservation).
If you’re planning photography trips, always check the latest photography permits or media briefing information on the Parks Australia website.
Do You Need a Media Permit?
If your images or footage will be used for commercial purposes — blogs, ads, social posts for social media influencers or travel documentaries — you’ll need a media permit.
These permits apply whether you’re shooting with a drone (which is generally prohibited without authorisation), setting up a tripod for a time-lapse or taking aerials from a scenic helicopter or plane flight.
You’ll typically submit:
- A filming plan
- Location list and dates
- Proof of insurance
- Cultural clearance if filming sacred areas
A media briefing may also be required to ensure you understand the cultural and environmental protocols. It’s not red tape — it’s about protecting a place that’s been cared for since long before photography existed.
Best Techniques for Stunning Desert Photography
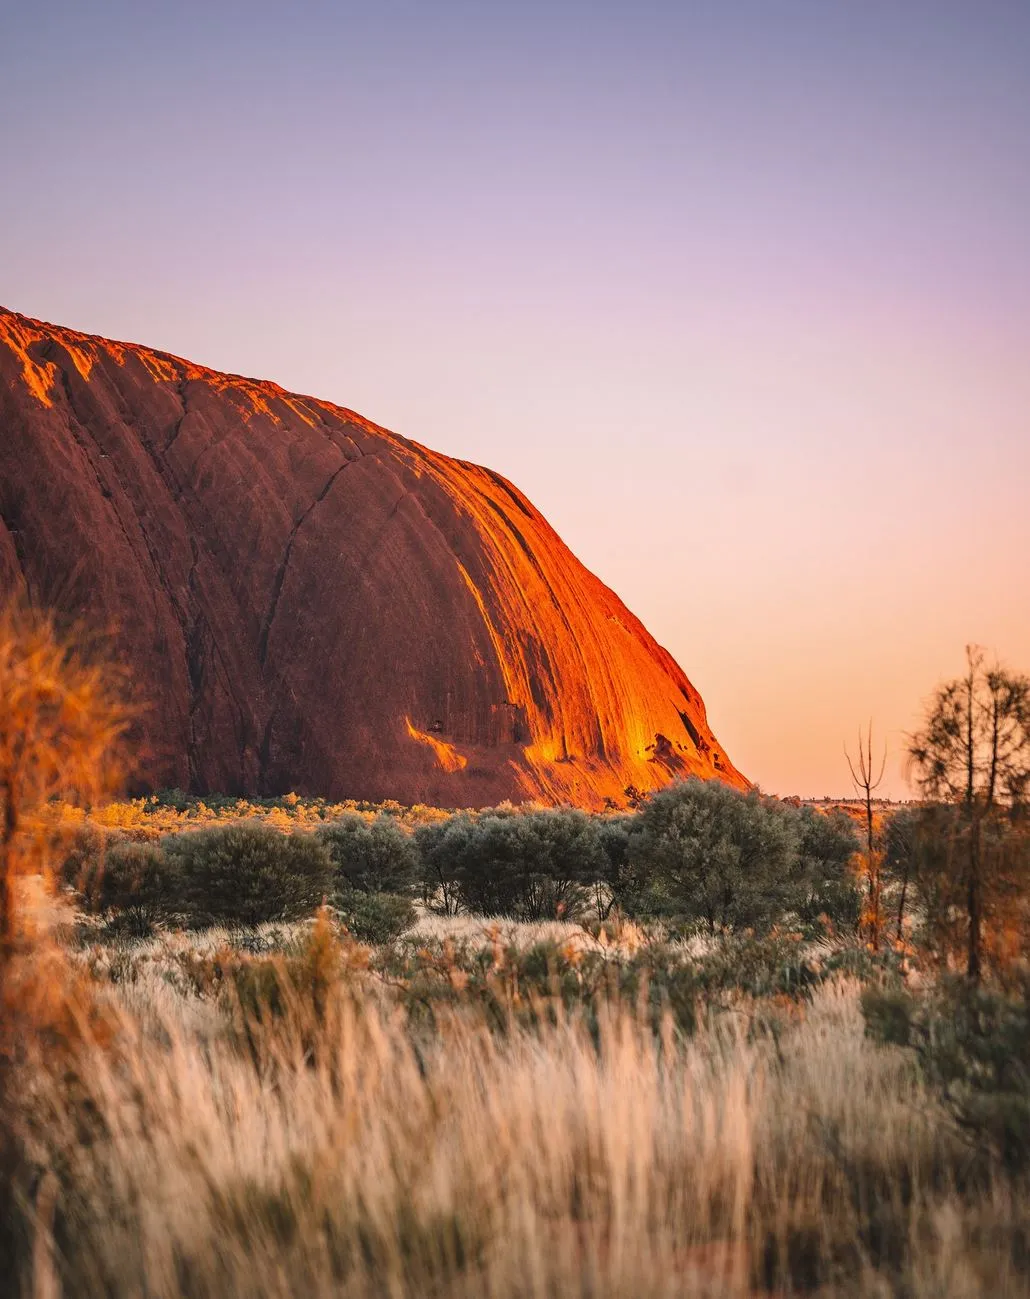
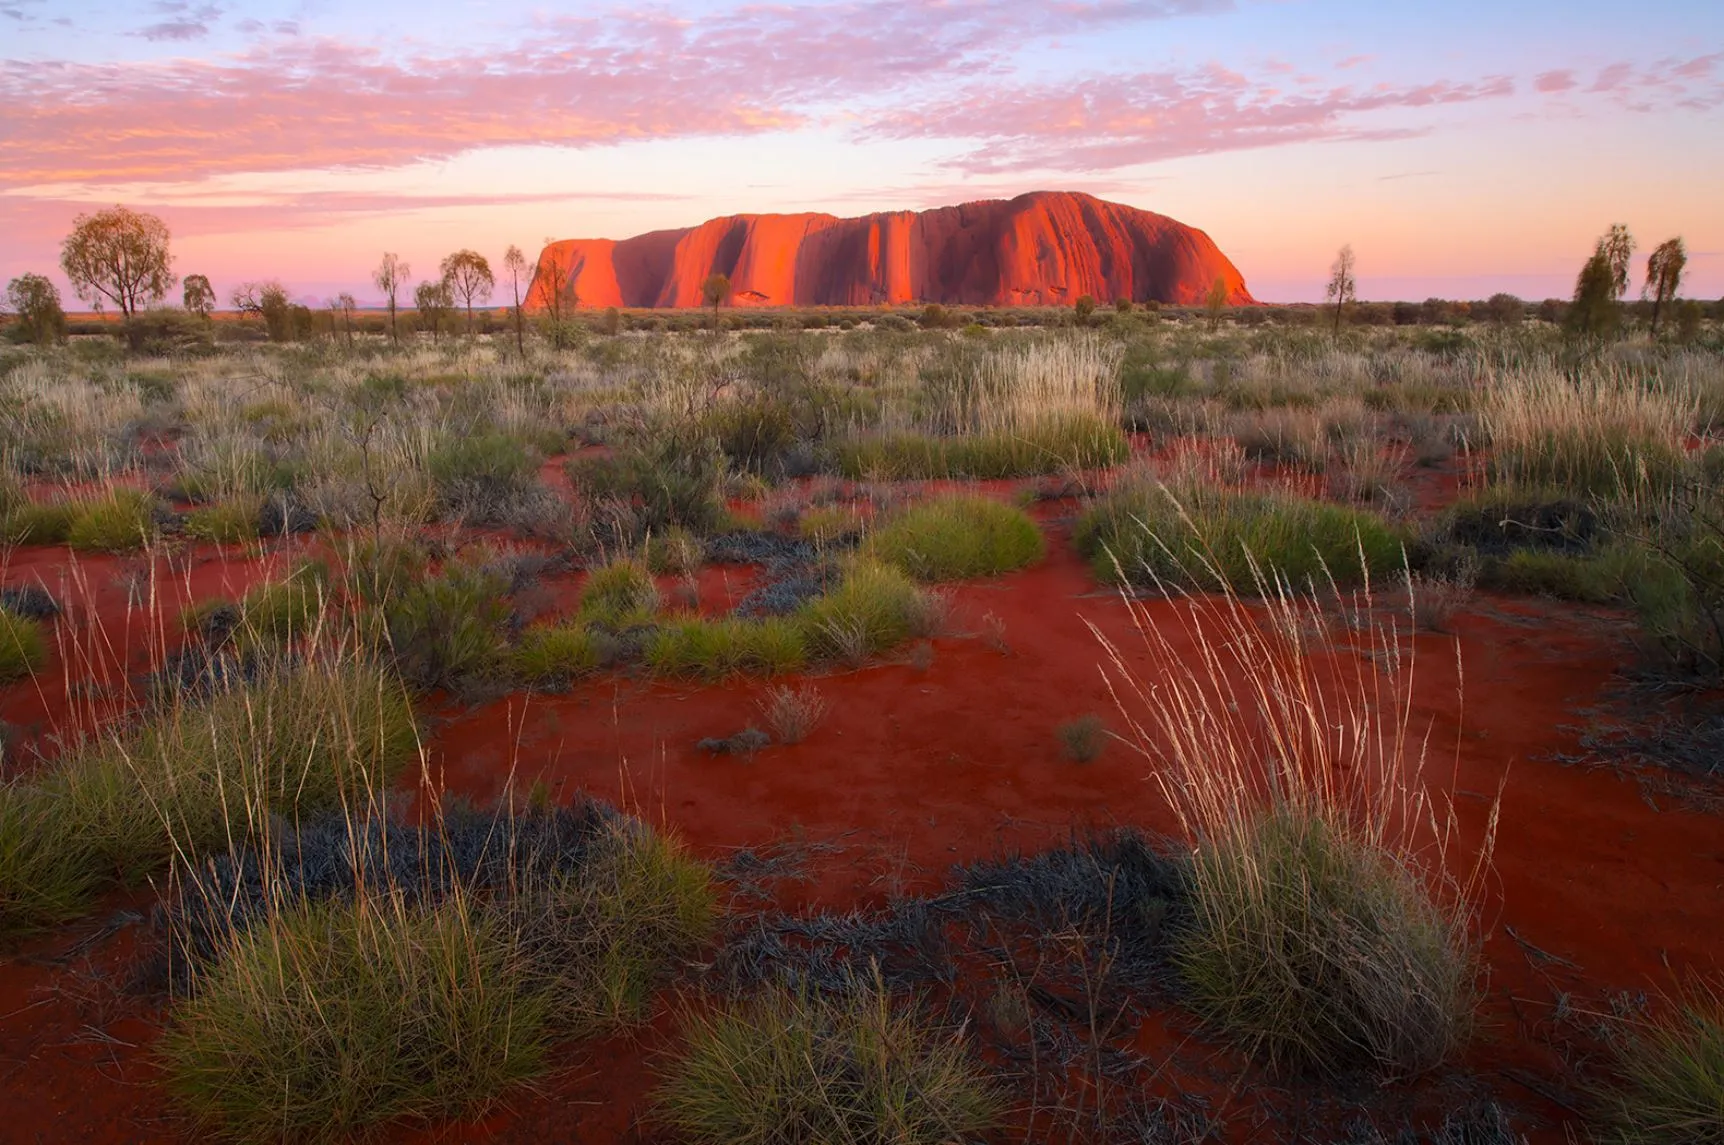
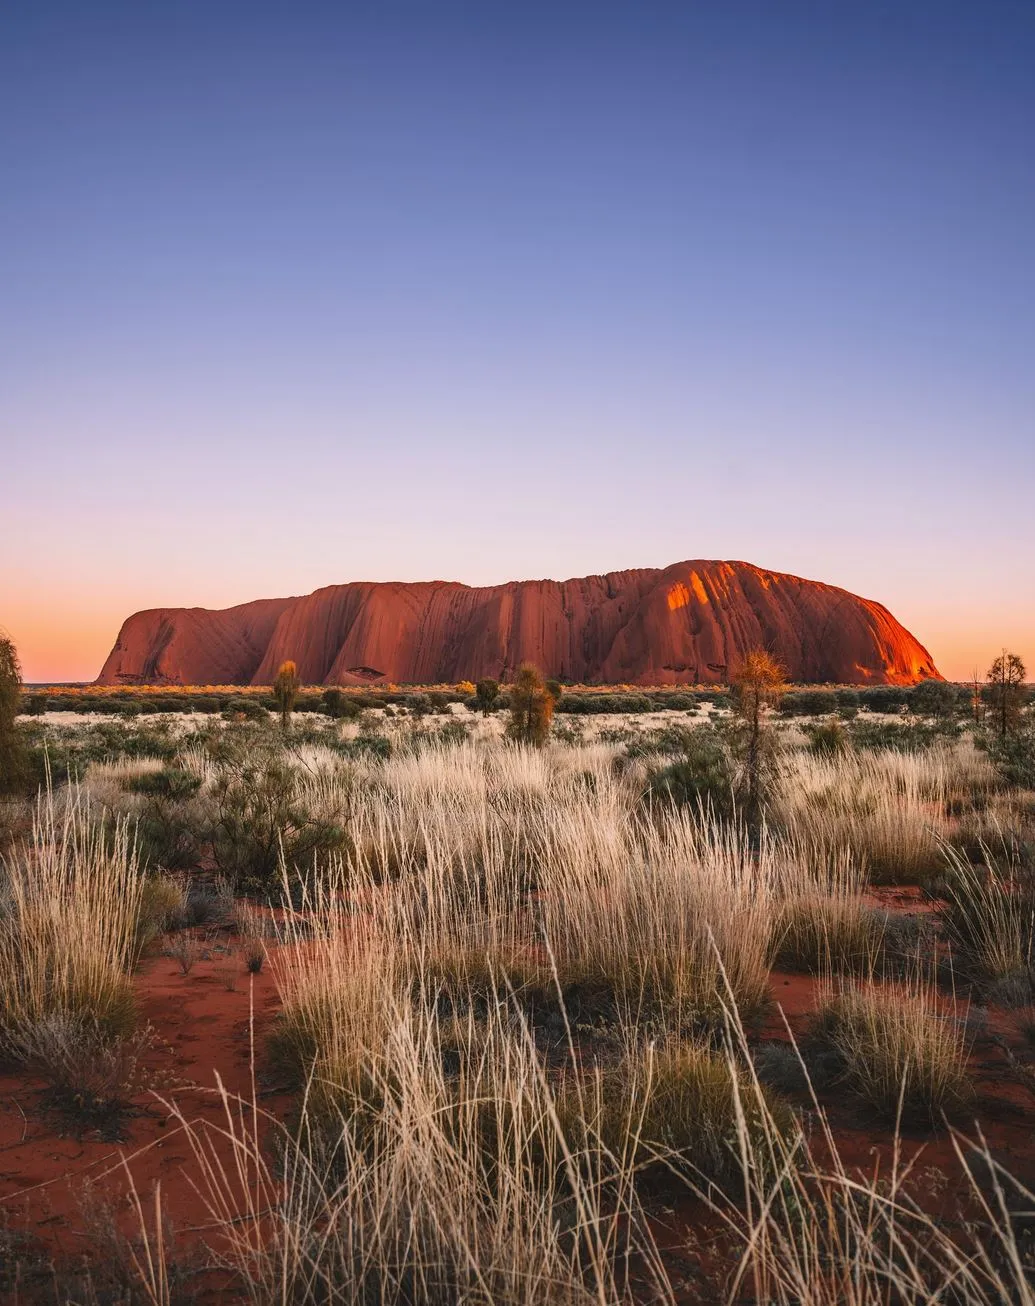
Uluru is every photographer’s dream — and nightmare. The light shifts fast, the heat can fry your gear and those red sands find their way into every lens cap. But that’s part of the magic.
Here are a few pro tips I share with travellers on our Uluru Tours through Autopia Tours and Wildlife Tours:
- Use a polarising filter: It cuts glare and deepens the desert blues — perfect for mid-morning shots.
- Chase the “golden hour”: The first 30 minutes after sunrise or before sunset deliver the most dramatic tones.
- Avoid over-editing: The desert’s natural hues don’t need fake saturation — let the real colours do the talking.
- Include scale: A person or tree helps convey the enormity of the monolith.
- Pack protection: Dust caps, wipes, and sealed bags are essential.
Scenic Flights and Aerial Photography
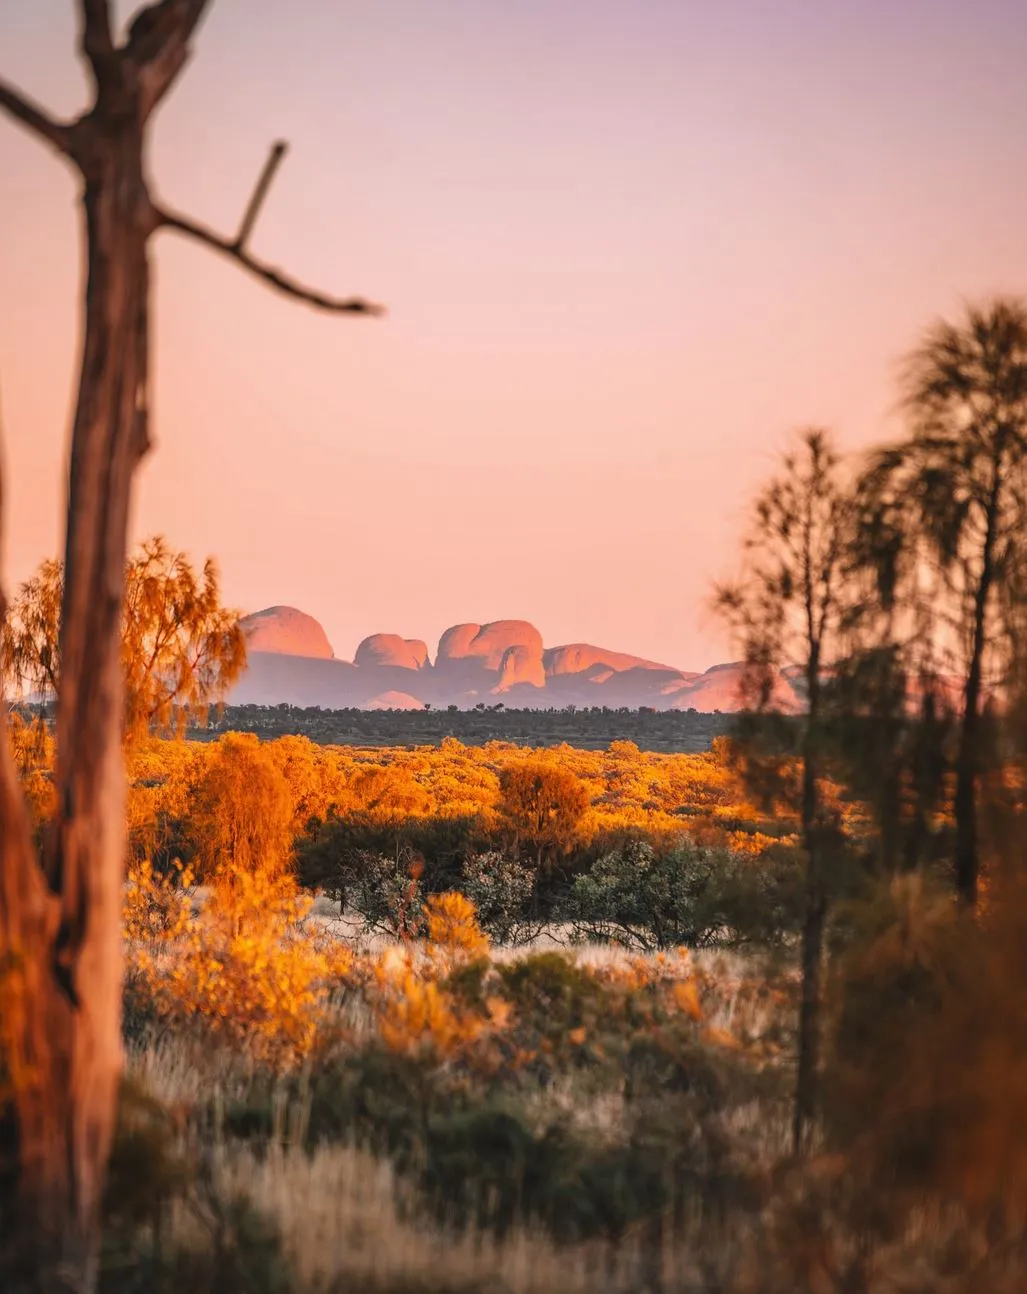
If you’ve got the budget, a scenic flight or helicopter ride over Uluru-Kata Tjuta National Park is a must. From above, you see not just Uluru, but the desert wildflowers, native grasses and ancient dune systems that shape the Red Centre.
Flight paths are regulated to protect the environment and cultural sites. Operators are briefed by Parks Australia and the Traditional Owners to avoid sensitive areas.
Companies like Wayoutback Tours often partner with local flight operators to offer small-group experiences that combine ground touring with a scenic helicopter circuit. It’s the best way to understand how vast — and fragile — this landscape truly is.
Understanding Cultural Boundaries
When I first visited Uluru as a young guide, I made the rookie mistake of taking a photo near the wrong cave. A local ranger, kindly but firmly, told me why that area was off-limits. It wasn’t about ownership — it was about sacredness, the same way some cathedrals restrict photography during prayer.
That moment changed how I travel. Since then, I’ve always told my groups:
- Don’t photograph sacred sites or ceremonies.
- Always read and respect signs — they change depending on the area.
- Ask before taking portraits of Anangu people.
- Share images responsibly, especially on social media.
These rules ensure we don’t reduce an ancient culture to a backdrop for selfies.
How Guided Tours Help Travellers Do It Right
The best way to experience Uluru without crossing lines is to join a guided tour that’s built on cultural respect. Uluru Tours with operators like Autopia Tours, Wildlife Tours and Wayoutback Tours provide not just logistics but genuine insight.
Guides share creation stories, point out wildlife and explain which areas are photographable. You’ll learn about bush medicine, seasonal tracks, and even the science behind those colour changes at dusk.
With local guides and sustainable practices, these tours ensure both travellers and Traditional Owners benefit from tourism done right.
Quick Checklist for Responsible Photography
Before you pack your tripod, run through this simple list:
- Check the Parks Australia map for photography zones
- Apply for a media permit if needed
- Attend any media briefing sessions required
- Bring polarising filters and dust protection
- Don’t post images of restricted cultural sites
- Support eco-certified operators (they’ll know the latest rules)
A Final Word From Paul Beames
Uluru isn’t just a photo op — it’s a lesson in humility. The light, the silence, the sheer weight of history here remind you that some stories are meant to be seen, not captured.
If you want to experience Uluru the right way, join one of our Uluru Tours through Autopia Tours, Wildlife Tours, or Wayoutback Tours. You’ll walk away with great shots — and an even greater respect for the Country beneath your boots.
Got questions about camera settings or the best spots to catch sunrise? Drop them in the comments — I’m always updating my field notes for fellow travellers.
FAQ
Can I take photos anywhere around Uluru?
No. Several sections of the base are sacred and not to be photographed. Always look for signage or ask a ranger.
Are drones allowed at Uluru?
No, drones are banned unless you hold a specific Parks Australia authorisation, usually for professional projects.
What happens if someone ignores the no-photo zones?
Fines apply under federal law for breaching cultural or environmental regulations — these are fineable offences.
Yes, but only if they’re taken in approved zones. Avoid using sacred imagery for promotional or influencer content.
Do I need a permit for a personal photography trip?
Not usually, but if you’re filming for profit or media use, you’ll need a media permit and possibly a briefing.